Posts etiquetados ‘strat’
APLICACIONES
Publicado: 18/12/2012 en NOVEDADES Y ARTÍCULOSEtiquetas:cartography, clinometer, compass, dip, earth sciences, esclerometro, espectacles, fault, field, geographical, geolocation, geological time, geology, geophysics, geotechnics, inclinometer, infusions, paleontología, plantes medicinals, remeis naturals, strat, structural, teatre, upwelling
GEOLAB TOOL ENGLISH
Publicado: 26/09/2012 en UncategorizedEtiquetas:cartography, clinometer, compass, dip, earth sciences, esclerometro, fault, field, geographical, geolocation, geological time, geology, geomechanics, geophysics, geotechnics, inclinometer, layer, sclerometer, station, strat, structural, upwelling
Geolab Tool is a tool designed for both professional geology, as students and fans of earth sciences.
Essential tool for geomechanical geostations, cartography, geotechnical, slope stability, geodynamics, and more …
Collect compass, inclinometer, GPS, altimeter, sclerometer, time table, camera, annotations, all in one! You don’t to need to carry everything, with your device and GeolabTool you can perrform a field campaign and easily store your measurements. Only just a «click» to save your measurements, and to refer to them.
Instructions for use:
– For start you must give a station name and click to CREATE, autonumber measures. This allows you to save multiple steps with the same station name. In the data list you can check all measurements stored in order. The closest thing to your booking sheet!
– You have the following options:
• Orientation: Equipped with high precision compass and level. Place the left side of your device in contact with the layer and move it until it is flush. You have two options:
Save orientation in the direction of maximum dip.
Save orientation relative to North. Useful for measuring lineations and fold axes, paleocurrent, etc. ..
With this simple scheme you can test the accuracy of the measures. In my case I used a cassette case, any object with edges of 90 I can assert, a wood, a book, etc … I placed this device in a grid and the grid have aligned with the North of a conventional compass. Then, placed on the side of the cassette case the conventional compass and in the other side the mobile device. The object that we use should not be metal.
Step to make measurements at 0 º, 90 º, 180 º and 270 º. As you’ll see in the pictures attached, the error is always below 5 º. And I would emphasize that the irregular shape of the device makes this error is slightly larger.
It should be remembered that mobile devices suffer decalibrations, and must be calibrated as an error is detected. This is because they are sensitive to the influence of magnetic fields, the proximity of metal objects and/or electronic components favors these processes. You can find some videos of how to calibrate in the links on this blog.
Clicking on the captrte button you can see the measure automatically done, if you’re interested you can save the data.
• Dip: Measures the maximum dip angle, for that you must place the back of your device directly on the layer and move it up to get the dip.
• Geologic Time: clicking directly on the table and you can get it.
• Data Type: Select the type of measurement on the list. You also have the option to introduce other measures as needed.
• Geolocation: Enables your GPS locator device and get the latitude, longitude and altitude.
• Description: Enter a description and for any type of observation.
• Picture: This application has a photo capture system to provide you with this task.
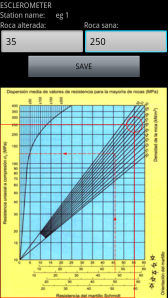
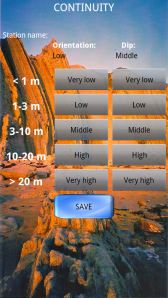
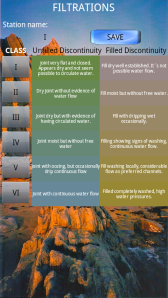
• Rock class: full screenshot geomechanical data stations as spacing, rugosity, continuity, filler, etc …
• Overview of Data: Simply accessing the data list you can view all the measurements. The pro version also lets you export data to your SD card, so it is very easy to export data to your PC. The demo version does not allow exporting data to the SD card.
• Export data to SD card: This option allow you to send all data saved in the internal memory the SD card of the mobile device. The file format is «txt». Files are generated as many measures have done. These files are named «geolabtool» follow of a number.
Editing Files
As the generated files is text is easy to open them directly from a spreadsheet. Simply import the files, it should note that the tab is marked by a comma. To import selected files one by one, and areadded by row. This way you will get a table with your data.


